콘텐츠로 이동

선택적 분석, 세션 기록 및 광고는 동의하지 않으면 비활성화됩니다. 이를 거부하고 Transglot을 사용할 수 있습니다. 쿠키 설정에서 언제든지 선택을 변경할 수 있습니다. 쿠키 정책

모든 통합
사양서 · CMS 및 커머스

WordPress and Transglot, publish a multilingual site.

Install the plugin, paste a pairing code, and choose the languages for your site. Sync posts and pages, then publish the translations your team approves, with localized URLs and a language switcher.

Source content in; reviewed translations out
방향
Source content in; reviewed translations out
요금제
Starter 이상
범위
게시물 및 페이지: 제목, 요약 및 콘텐츠
인증
WordPress 플러그인에 입력하는 프로젝트 페어링 코드
시작하기
Download the plugin, install it in WordPress, and pair your site.

CMS 및 커머스
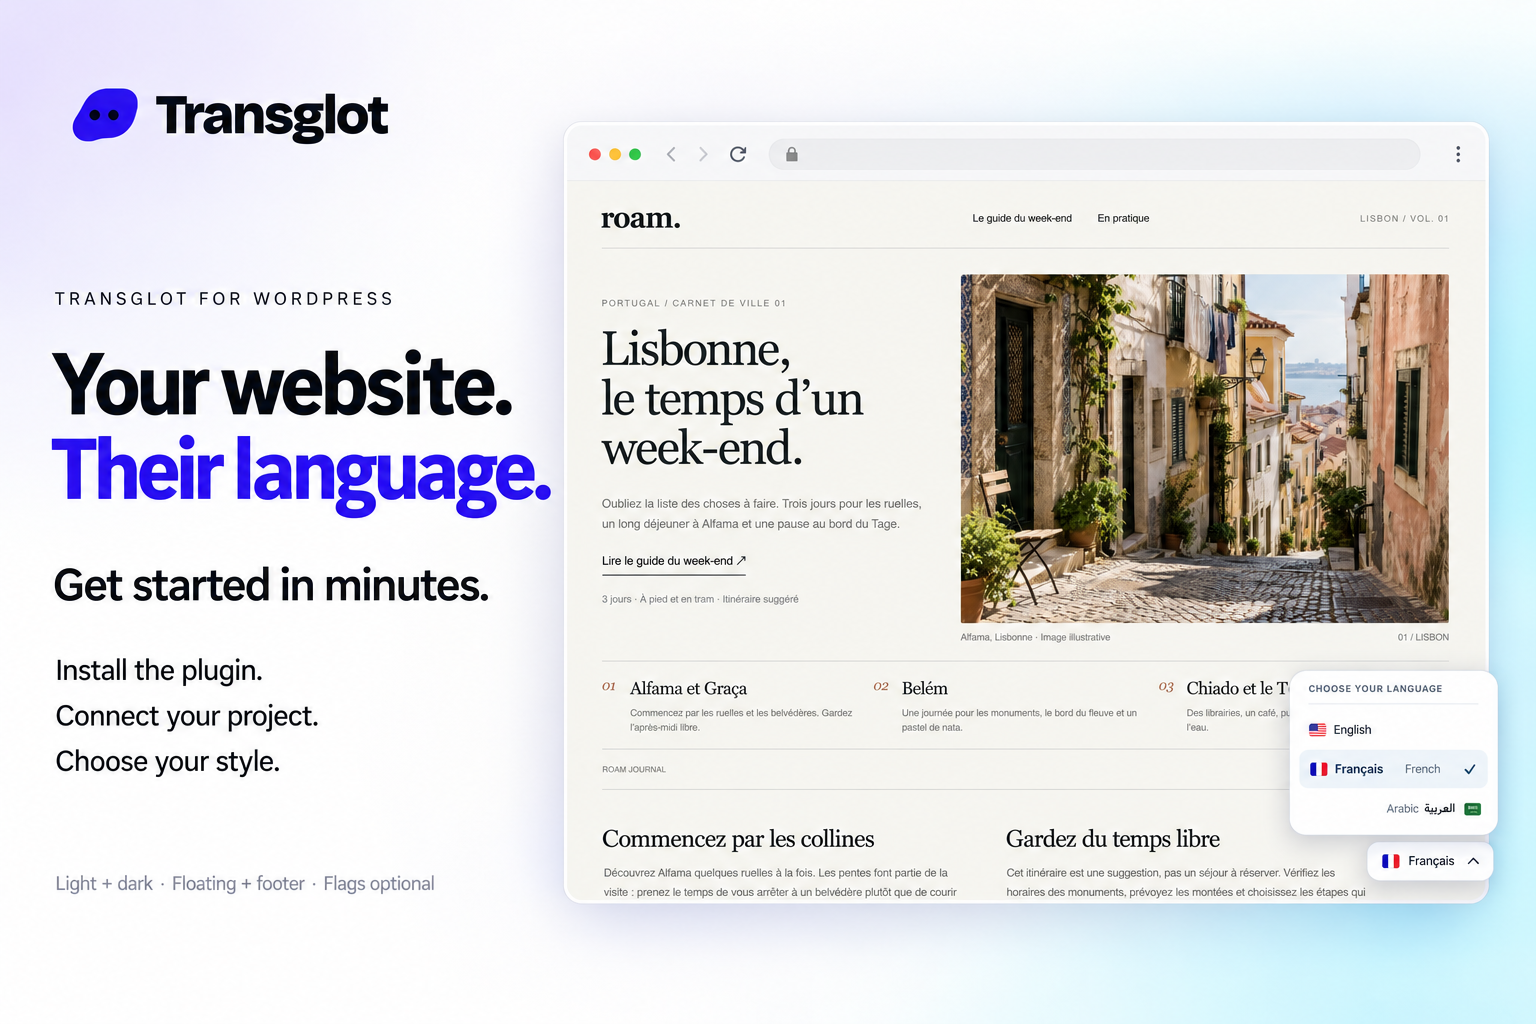
Transglot language switcher and localized WordPress website example
Example WordPress site with the Transglot language switcher.
워크플로

콘텐츠를 연결하고 모든 언어를 검토하세요.

한 번 연결하여 콘텐츠와 언어를 선택한 후, 동일한 프로젝트에서 번역 및 검토를 진행하세요. 아래 단계는 해당 도구가 어떻게 작동하는지 보여줍니다.

  1. Install and pair the plugin

    Download the Transglot plugin ZIP. In WordPress, open Plugins → Add New Plugin → Upload Plugin, choose the ZIP and activate it. In your Transglot project, open WordPress settings and create a pairing code.

    pair
  2. Sync the source content

    Bring the selected posts and pages into the Transglot project.

    sync
  3. Translate and review

    Review target-language copy in the same project as your other localization content.

    검토
  4. Publish your site locales

    Publish the reviewed translations and check the language switcher and localized page URLs.

    게시
Publish reviewed translations to the connected WordPress site, with localized URLs and a configurable language switcher.
연동되는 항목

번역 및 전달 가능한 항목

페어링 코드로 WordPress 사이트를 연결하세요. 게시물과 페이지를 동기화하고, Transglot에서 번역을 검토한 후, 사이트에 맞는 언어 전환기로 로컬라이즈된 페이지를 게시하세요.
번역 및 전달 가능한 항목
표면예상 사항
소스 및 범위

게시물 및 페이지: 제목, 요약 및 콘텐츠

번역 결과물

Publish reviewed translations to the connected WordPress site, with localized URLs and a configurable language switcher.

주의 사항

Choose the posts and pages to sync. Review translated pages, localized URLs, and your language switcher before sharing them with visitors.

연결 시작하기

첫 번째 연결을 위한 몇 가지 단계

아래 도구의 설정을 따르세요: 연결을 추가하고 동기화할 항목을 선택한 후 소량의 콘텐츠로 테스트해 보세요. 팀은 기존에 사용하던 도구에서 계속 작업할 수 있습니다.

필요한 항목

WordPress 플러그인에 입력하는 프로젝트 페어링 코드.

  • 소스 및 대상 로케일이 구성된 Transglot 프로젝트
  • 팀이 파일 간에 시크릿을 복사하지 않고 작업할 수 있도록 연결 설정에 자격 증명을 저장하세요.
  • 호스팅된 API 액세스에는 유료 Transglot 플랜이 필요합니다. AI 번역은 워크스페이스의 단어 허용량을 사용합니다.
  1. Download the Transglot plugin ZIP. In WordPress, open Plugins → Add New Plugin → Upload Plugin, choose the ZIP and activate it.

  2. In your Transglot project, open WordPress settings and create a pairing code.

  3. In WordPress’s Transglot setup, paste the pairing code and complete the connection.

  4. Sync your source content, review the target translations, then publish them to the site. Configure the language switcher and URL settings in the plugin.

동일한 프로젝트, 더 많은 가능성

나머지 워크플로를 연결하세요.

도구 간 이동 시에도 번역 내용은 한 프로젝트에 유지됩니다.

이미 운영 중인 서비스와 연동

41개의 커넥터, 이미 구축 완료.

워크플로 통합하기

귀하의 콘텐츠, 모든 로케일에 준비 완료.

도구를 연결하고, 팀과 함께 번역하며, 검토된 콘텐츠를 게시하세요.